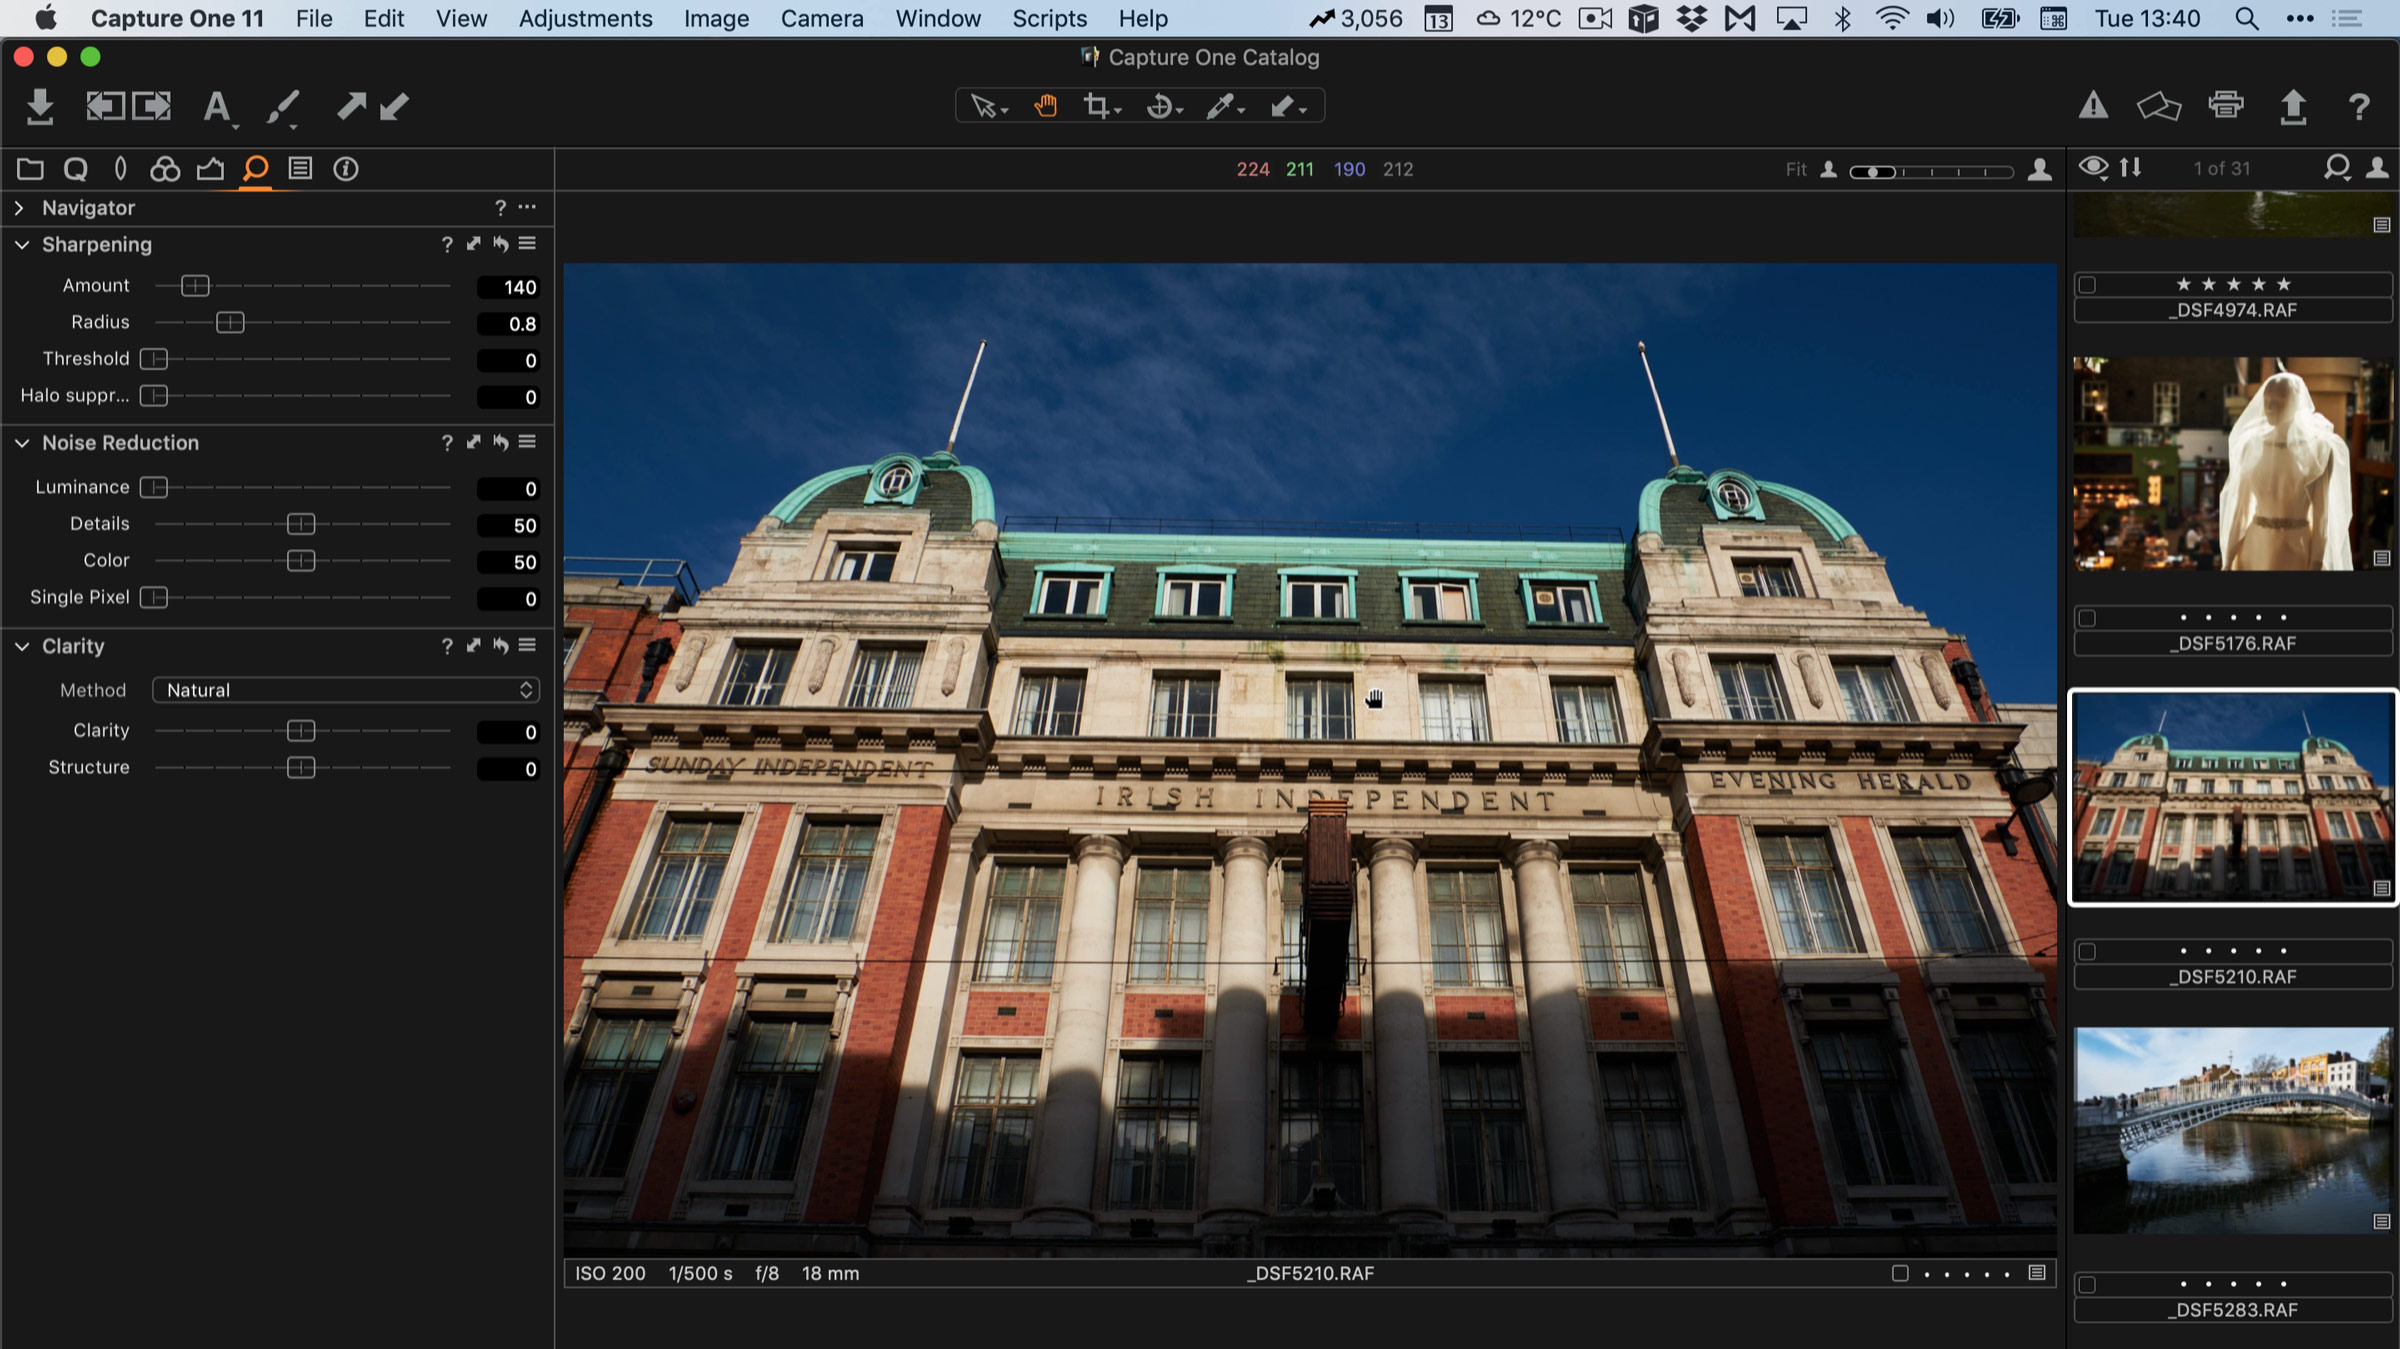
In this super short Capture One quick tip, I show you how to place a vignette behind an object in a scene using layers and the luma range tool.

Thomas is a professional fine art photographer and writer specialising in photography related instructional books as well as travel writing and street photography.
All in Video
In this super short Capture One quick tip, I show you how to place a vignette behind an object in a scene using layers and the luma range tool.
One of the questions that I get asked a lot is about using Affinity Photo with Capture One. For those who want to cut the Adobe chord, Affinity Photo is the most popular alternative to Photoshop, and it makes a good companion to Capture One. Even if you still use Lightroom and Photoshop, many still like Affinity Photo for its modern user interface and speed. Round tripping between the applications is fairly straight forward, but there are still a few things to be aware of, which I will cover in this post.
Street Photo Diary is back! After a long hiatus, I’m back with a brand new episode of “Street Photo Diary”. This time I’m out on the streets of Dublin with the Panasonic Lumix GF1 high was my very first mirrorless camera.
One of the really useful features of Capture One is that you can completely customise the interface. This ranges from simple things like changing the toolbar, and re-ordering tools, to creating your own tool tabs and workspaces. In this video, we look at the many ways you can customise the Capture One interface, and create a custom tool tab to make it easier for someone switching from Lightroom.
In this video I went for a wander with my camera around Dublin City to show that you don’t need to go to the countryside to photograph the wonders of Autumn. If you live in a city there’s plenty of Autumn colours and scenes all around you. If you liked my “Street Photo Diary” series, this is basically the same formulae only without the street photography!
The colour balance tool is one of my favourite features of Capture One, and one I get asked about regularly. In this video I show you how to use the colour balance tool (also known as the three way colour corrector) to colour correct a photo.
One of the new features of iPadOS that was announced was the ability to import images directly into apps from attached storage, without having to go through the camera roll. Unfortunately not many apps have been updated to take advantage of this yet, including Lightroom. However, there is a pretty simple work around and in this video I show you what to do.
In this video tutorial I show you my editing process on an image in Capture One. While the photo is fairly good to start off, I wanted to enhance it further including tweaking the colour and doing some selective editing.
In the latest edition of “Street Photo Diary” I decided to try shooting street photography on film. I dusted off my somewhat temperamental Yashica FX-D and headed into Dublin City to get some shots.
In the latest episode of Street Photo Diary, I’m once again shooting with my favourite street photo camera, the Sony A6000. I ask if its still worth buying one in 2019 and head out to shoot on the first proper day of Summer here in Ireland.
Ever since Adobe introduced the new “Texture” slider in Lightroom, and Capture One, I was curious to see if I could do something similar in Capture One. After a little experimentation, I was able to create a similar effect. In this video I show you how!
Sometimes you can come across an image where the shadows are quite noisy, but there are still details in the mid tones or highlights that you don’t want to soften by applying too much overall noise reduction. You can actually just apply noise reduction to the shadows of an image in Lightroom by using a luminance mask. In this video I show you how to do this.
In the latest episode of Street Photo diary, I take the original X100 out for a spin to shoot some street photography around Dublin City
It’s time for a brand new season of my “Street Photo Diary” series. Following on from the photo essay I posted earlier, I set out to shoot some street photos with a Sony A6000 on a beautiful spring day in Dublin City. I also talked about the settings that I use and the importance of capturing "mundane" subjects when shooting Street Photography.
I’ve written a lot about sharpening Fuji files in various pieces of software, and in fact, I have a whole guide for Capture One with details and corresponding presets. However, for some, this may be still a little too complicated, so I wanted to give you just the absolute basics. This is particularly suitable for those who may be using Capture One Express but the advice works for both express and pro versions. I fact, this advice will really work with any file.
After a few months of slowly ramping up the effort I put into it, my YouTube channel seems to be starting to gain some traction, especially with my Street Photo Diary series. I’ve just published the tenth episode on YouTube, and my channel has just crossed the 3000 mark. These two albeit minor milestones have caused me to reflect and look back on how I got to this point, and where I want to go next.
As a companion to the recently published Issue 36 of Street Photo Diary, I also shot another episode of the companion video series of the same name. It’s hard to believe that I’ve done ten of these now, and when I look back, they’ve really come a long way since my first attempts. In this episode I go searching for the winter light in Dublin city with my Fuji X-Pro 2 as my main camera.
A little while ago I posted a video overview of the new “express” version of Capture One. That video generated a lot of interest, and I also got a lot of questions about the software. With that in mind I created a follow up video where I answered the most common questions.